Adobe Illustrator Drawing Characters
Setting yourself up for success.
|
In order to use Adobe Illustrator well you will need to set yourself up for success before you start drawing. If this guide is not followed then you will find yourself struggling and falling behind.
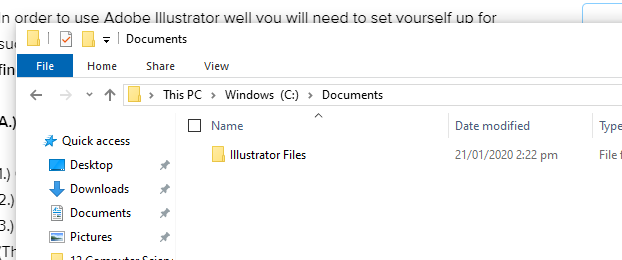
A.) File Management 1.) Open File Explorer 2.) Browse to your documents 3.) Create a new folder called Illustrator Files (The new folder button can be found on the top left as demonstrated by the picture on your right). B.) Opening Illustrator 1.) Click the magnifying class next to the start icon 2.) Type in "Illustrator" 3.) Click to open Adobe Illustrator C.) Creating your first file 1.) Click "Create New" 
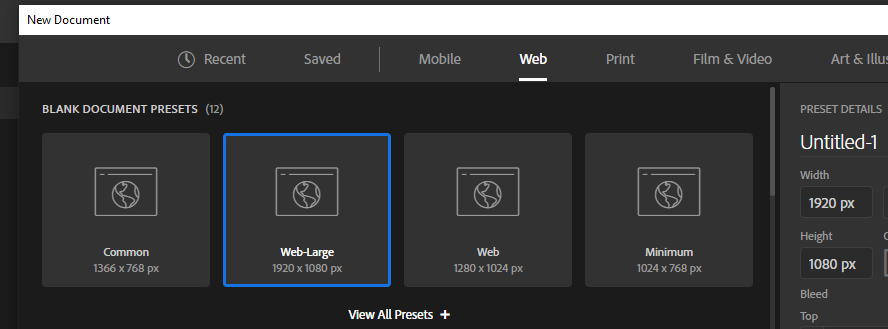
2.) Select "web" from the ribbon at the top
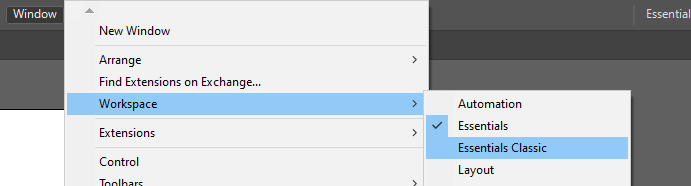
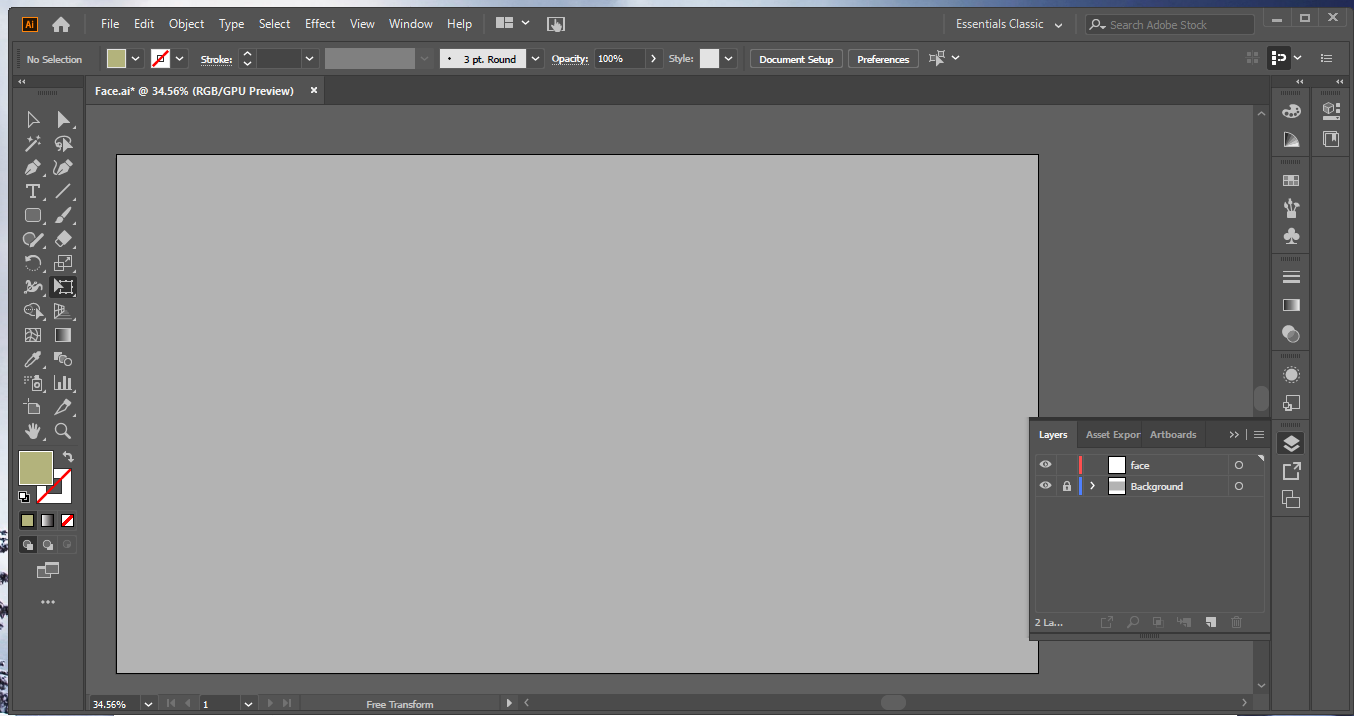
3.) Select "Web-Large" Notice how it states 1920*1080 as the screen size 4.) Click "Create" 5.) Click either "File ---> Save" Or hold "Ctrl + S" to save 6.) Save the file to your documents illustrator folder as setup previously. Call it "Face" D.) Setting up the canvas 1.) Click Window --> WorkSpace --> Essentials Classic 2.) Click the square tool on the left 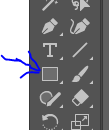
3.) Drag the Rectangle on the canvas from the top left to the bottom right.
4.) Change the outline to blank, and change the colour to Grey 
5.) Click The Layers button on the right
6.) Double click on "Layer 1" and rename it to "Background" 7.) Click the space between the title and the Eye to lock the background 8.) Click the New Layer button at the bottom interface. Call it "face". 
|

E.) Setting yourself up to draw
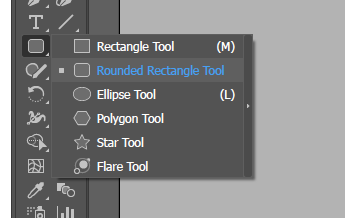
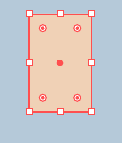
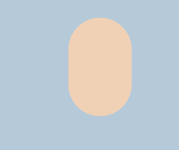
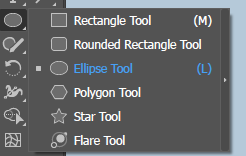
1.) Right click on the Square tool 2.) Select Rounded Rectangle Tool 3.) Change the colour away from grey 4.) Draw a shape
|


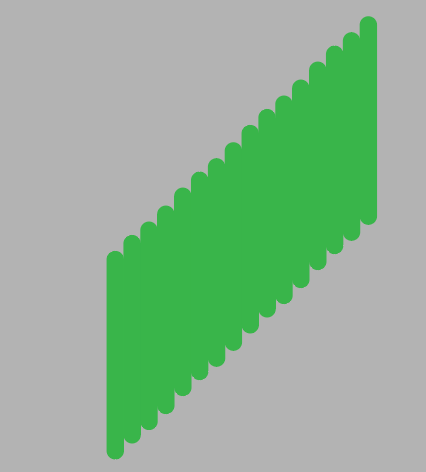
The rounded rectangle shape
|
This shape is what we will be using for the overwhelming majority of all of our work. I will show you how this is used later. For now we need to make one more change.
At the moment you cannot make the shape as skinny as you want. To change this 1.) Click "window" --> "properties" 2.) Click the three dots to enlarge the window 3.) Click "Scale Corners" 4.) You now should be able to make a shape as skinny as you want to. Play around with the rounded rectangles to figure out what they do. Hold Shift, Alt or even Ctrl to see what happens Use the arrows and see what happens What does Ctrl + C, then Ctrl + V Do? See if you can make these: |

|

|

|
|
Drawing a Face
|
We are going to start by trying to draw a face
The style of art we are going to draw is related to a YouTube channel called: "Gigantic" I recommend that you subscribe to their YouTube Channel, later on we will be using their guides to create images. Here is the face we are going to draw. TASK: Setup a new Illustrator drawing going through the steps in the previous lesson. |

|
A Better Use of Color
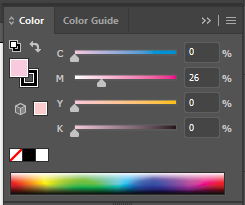
Lesson: A better use of color We want to use CYMK colour scheme so we get a wider variety and better colour palette On the top right click the colour palette button Click the three lines and click 1.) Show Options 2.) CMYK You now have a better range of colours to choose Task: Make the background layer colour the following 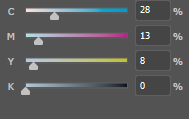
|

Bad Colours
Good Colours
|
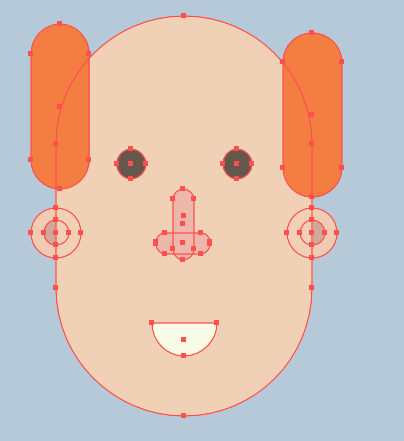
The Face!!!!
1.) Use the rounded rectangle tool create a square in the top middle of your page
3.) Select the Ellipse tool and change the color to brown. Draw an eye.
Hint: Hold Shift to make sure the eye stays round. |
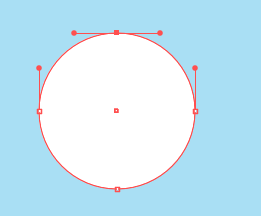
2.) Manipulate the shape using the inner circles and the arrow tool to look more like this

4.) Select the eye
5.) Hit Ctrl + C then Hit Ctrl + F, This will make another eye in the exact spot of the previous one. 6.) press the arrows on the keyboard to move the other eye to the right |


7.) Select the Eye Dropper tool
8.) Select the Skin Colour 9.) Darken the colour of the skin, using the cmyk colour selector |

10.) Create a long rounded rectangle in the middle for the nose
11.) Cross it over with a small rectangle in order to make it look more like a nose. |

12.) Find the elipse (circle) shape tool by right clicking on the shape tool
13.) Create a white circle where the mouth should be |

14.) Select the white arrow tool (this allows you to select small parts of a shape
15.) Select the top point in the circle 16.) Hit "Delete" |

17.) Create a circle that has the same colour as the nose for the ear
18.) Hit "Ctrl + C" & "Ctrl F" to copy the ear in place 19.) Holding "Shift" + "Alt" resize the inner ear |

20.) Select all the parts of the ear, and move it using the arrow keys to the right position
21.) Hit "Ctrl + [" to move it back a layer If you go to far "Ctrl + ]" will move it forward 22.) Make a copy of the ear parts (Ctrl C + Ctrl F) and make a right ear. |
The Hair, and the Shape Builder Tool
Setting yourself up for success

1.) Click --> "window" --> "Pathfinder"
2.) Move the menu to the side |

3.) Draw two side burns by using the rounded rectangle tool
4.) Place them like the above picture, |
5.) Highlight all the hair by dragging and selecting them
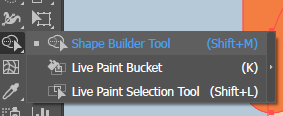
6.) Select the Shape Building Tool |

7.) Hold Alt, and remove the excess parts
|

8.) Create two big pieces for the hair that overlap like the picture
|
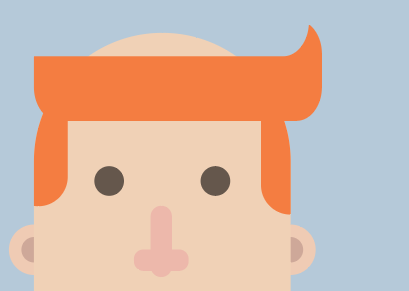
9.) Use the shape builder tool to create this
|

10.) Now try to do this use Ctrl + [ and Ctrl + ]
|

Now Try your hand at this
|
Finally... Save your work and export it as a .png
