Getting Started - Illustrator
|
Rigging allows us to more easily control the body by providing a skeleton structure. Follow this tutorial to make a really awesome video.
To get started, You should create a character like the one to the right using the following guide. You can use the YouTube guide below, or you could use our step by step process. |
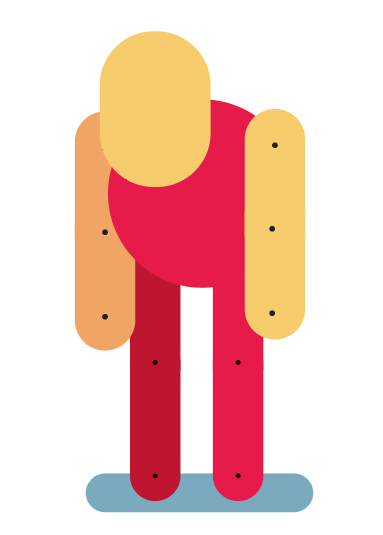
|
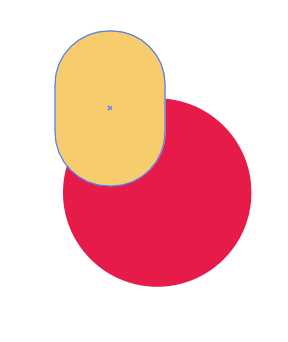
Draw two basic shapes for the head and body
Complete the image and add a shadow
|
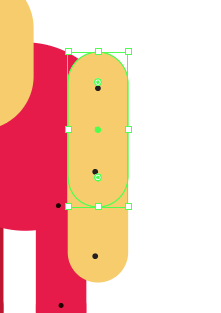
Using the same rounded rectangles make two individual shapes for each arm.
Create two small dots where the joins are. 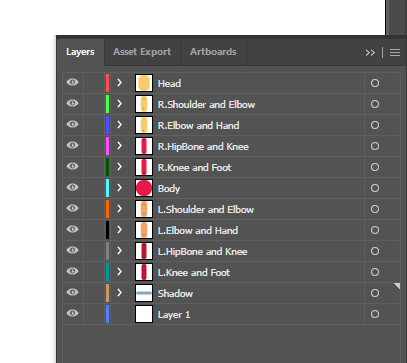
Using both Ctrl + X and Ctrl + F, copy each individual part into it's own labelled layer.
You may need to move the layers around so that the left legs and arms are behind the body etc. Save and get ready to open in Adobe After Effects |
Import Into After Effects
|
Just like on the previous activities we want to drag the file into after effects and connect everything together.
1.) Drag the illustrator file into after effects 2.) Ensure the settings match the image on the right. 3.) Double click on the composition and it should load the layers as per below 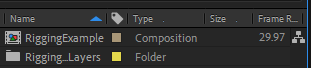
|
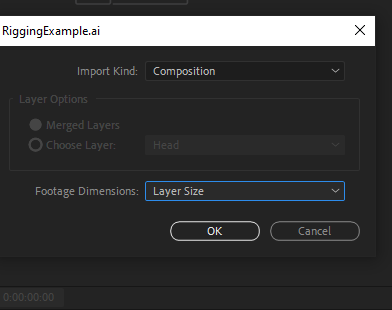
|
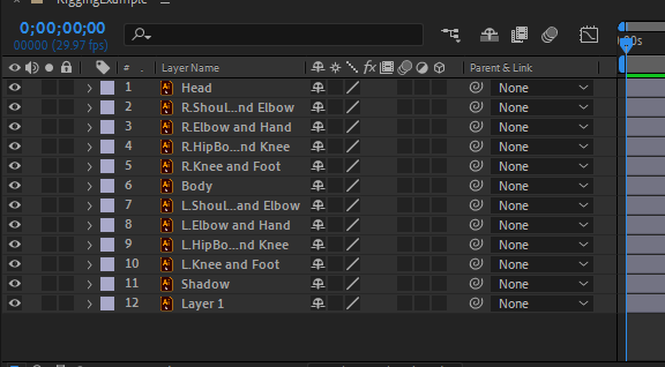
|
4.) Change the black background by going into composition -- > composition settings, then change the background to white.
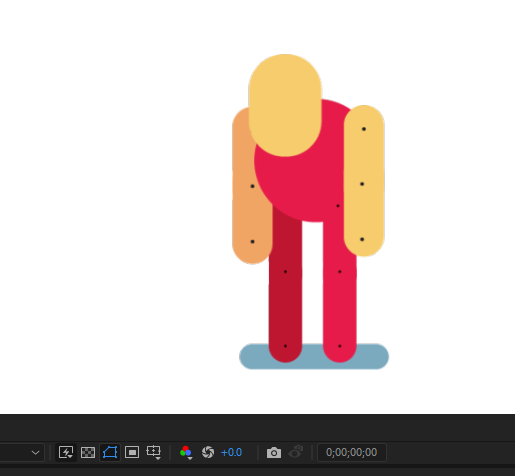
|
Managing Anchor Points

Before we get working with an awesome plugin called "Duik Bassel" We need to connect up different body parts together.
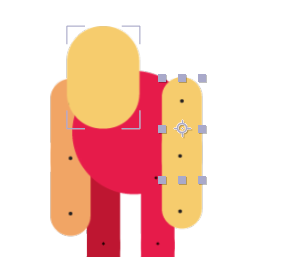
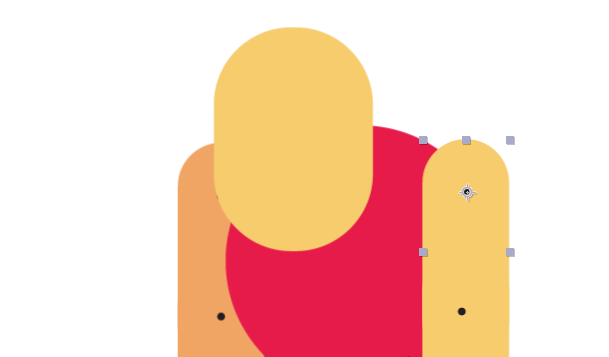
Using the Anchor button (y on the keyboard), set the anchor points away from the middle to where the join is. Do this for each arm, forearm, leg, shin and head. |
|
|
Connect body parts together

Using the coil tool
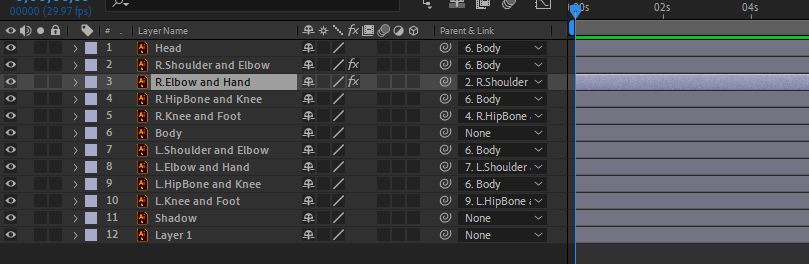
Link all the body parts together as per the image on the right. |
|
Opening Up Duik
|
In order to use rigging, we need to open a brand new plugin called Duik
1. To do this click on the menu bar called "window" 2. Then scroll all the way to the bottom and open Duik Bassel 2.jsx 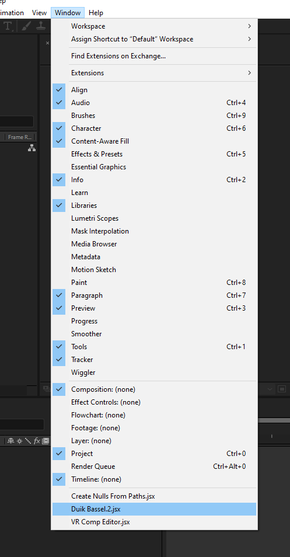
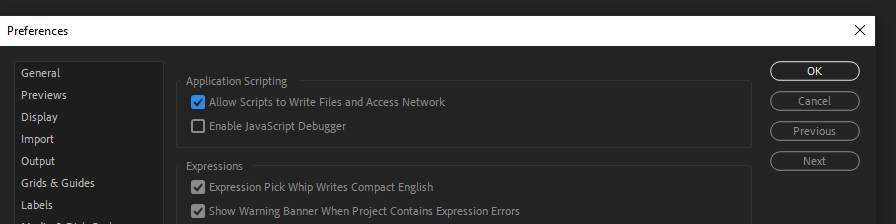
4.) Click the "Allow scripts to write and access network" and click ok
5.) Select English as a language

|
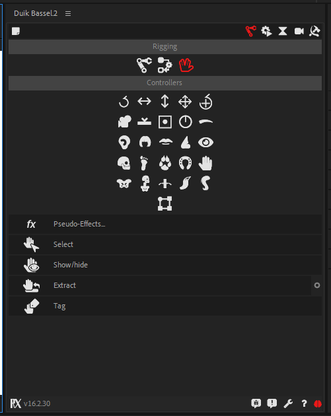
Above is Duik Bassel.2 When open
3.) As per below click the open preferences button 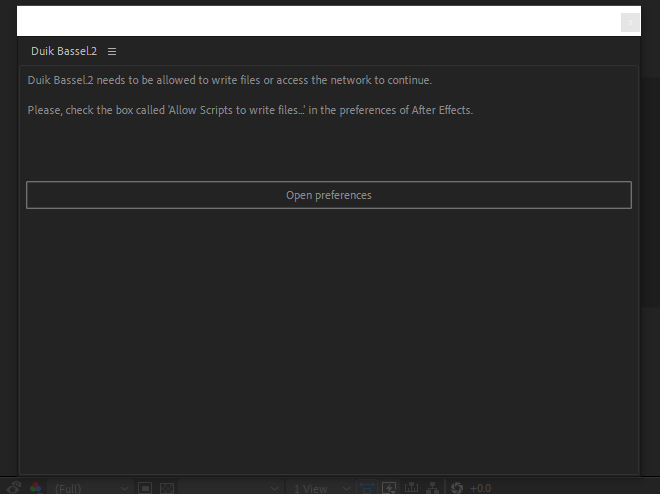
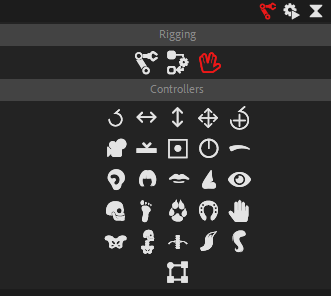
6.) Select the hand to get started
|
Applying Controllers
|
Repeat this process for each limb
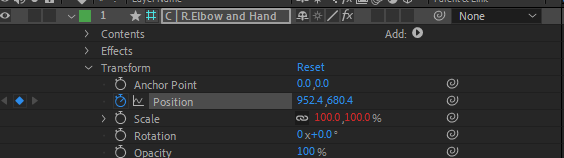
1.) Click on the layer: "R.Elbow and Hand" 2.) On the rigging page click the hand 3.) Click the rotation circle with a plus in the middle. 4.) Move the rotation circle to the bottom of the hand. 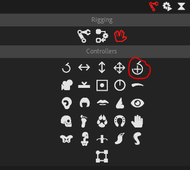
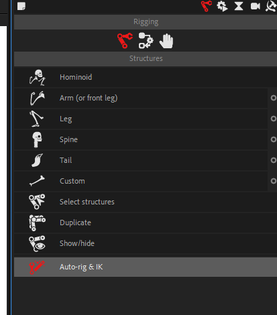
8.) Then Click on the arm at the top and auto rig
|

Important the next steps you need to do in the right order.
5.) Click the "R.Elbow and Hand" Layer 6.) Hold Ctrl and click the "R.Arm and Elbow" Layer 7.) Hold Ctrl and also click the new controller layer 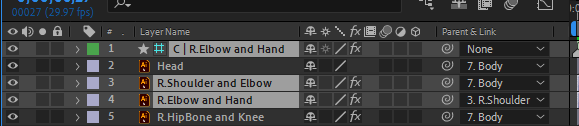
9.) if the arm bends the wrong way click the reverse button
10.) Turn off Auto Stretch 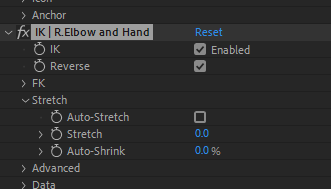
11.) Repeat steps 1-10 for each limb.
|
Animate the guy
|
Using the animation tool make the model do something cool |
|
|
|
|
